Tutorial: create your first HippoSplit group and invite friends, no signup needed
A step-by-step tutorial with screenshots: create your first group, invite friends with a link or QR code (they can join as guests without signing up), and log your first expense by typing it in chat.
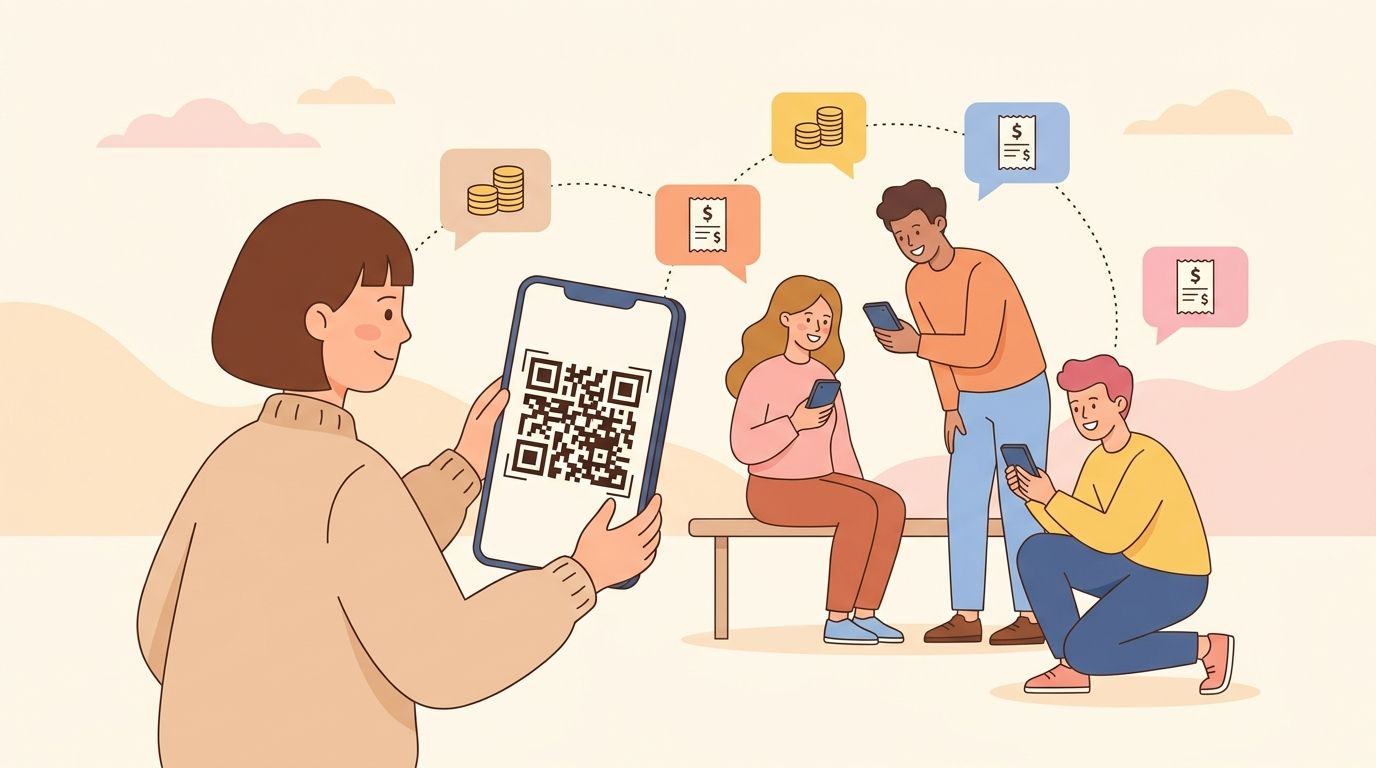
The hardest part of splitting expenses with a group is not the math, it is getting everyone set up. Most apps lose half the group at "please create an account and install this". HippoSplit is built to skip that wall: you create the group, share one link, and friends are in. This tutorial walks through your first five minutes, with a screenshot for every step.
The short answer
Create a free HippoSplit account, press New Group Chat, and give the group a name. Add your friends' names as members, pick a default currency from the 150+ available, and create the conversation. Then open the Share option to get an invite link and QR code; anyone with the link can join instantly and see everything as a guest, with no signup and nothing to install.
From there the group works like any chat. Type an expense as a normal message, like "Groceries 84.30 split with Anna and Ben", or post a photo of the receipt, and HippoSplit logs it, splits it, and keeps the running total at the top of the screen. The whole setup takes under a minute.
Before you start
You need a free account, and only you: the friends you invite do not need one to follow along. Open the web app in any browser; there is nothing to install. On a phone, add it to your home screen and it opens like a native app.
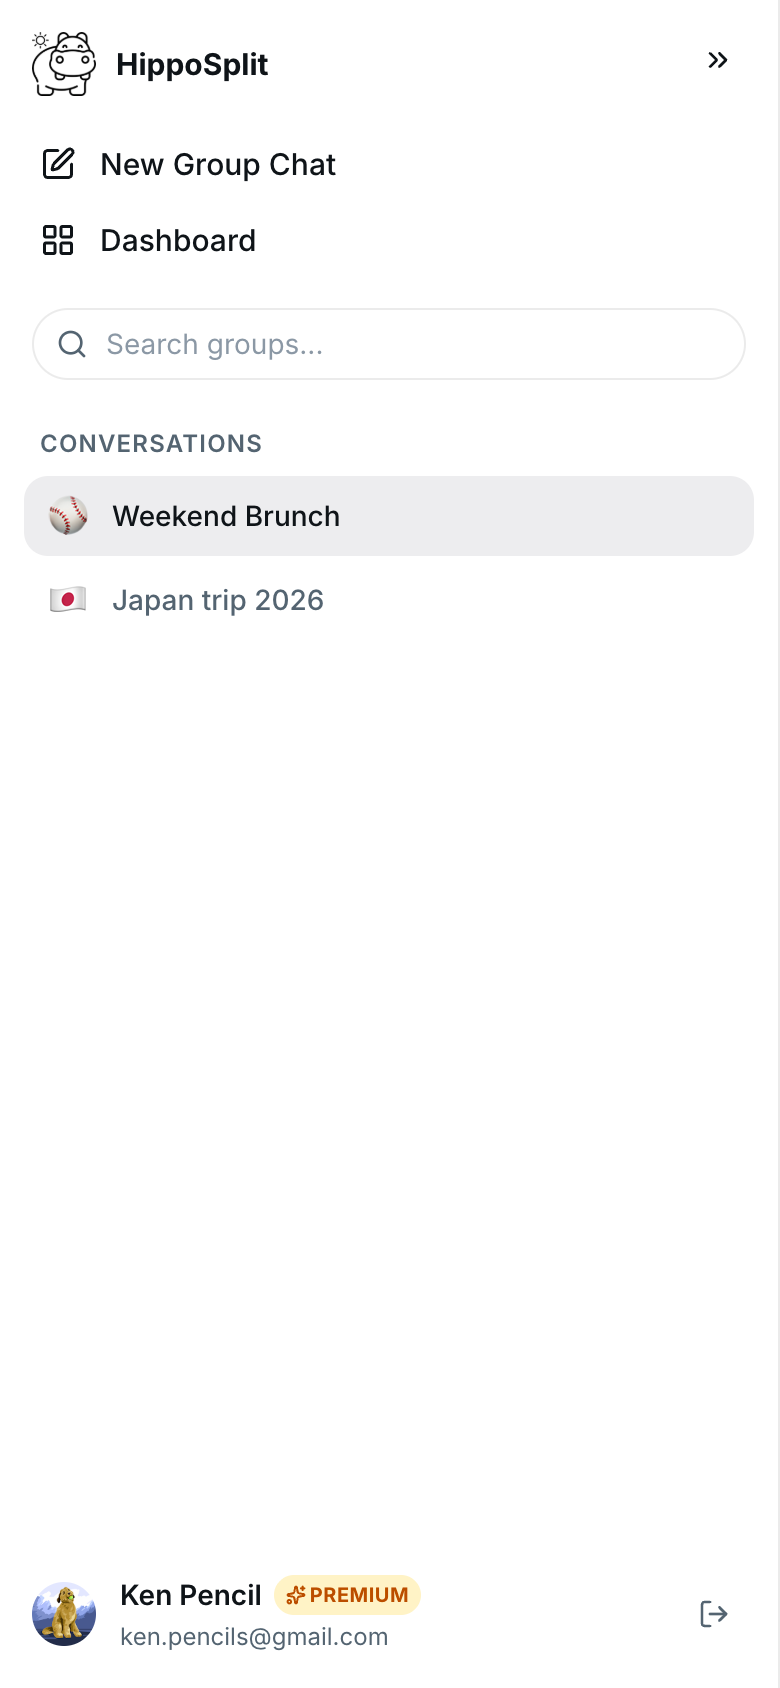
Step 1: press New Group Chat
From the home screen, press New Group Chat. Everything in HippoSplit lives inside group conversations: one for your trip, one for the household, one for the friend circle that keeps ending up at the same restaurant.
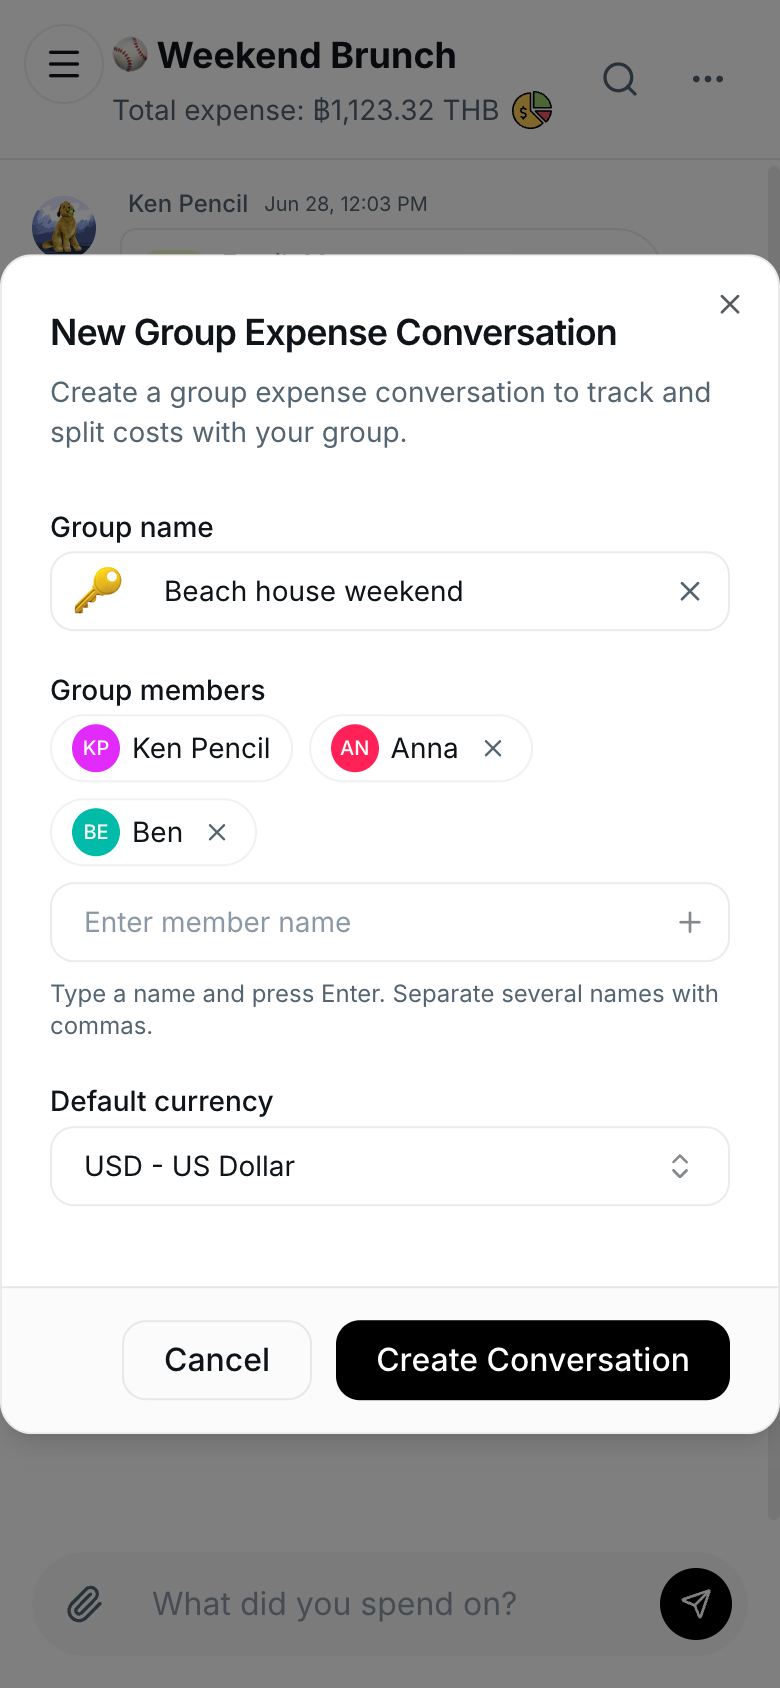
Step 2: name the group and add members
Give the group a name, then type each friend's name and press Enter (or separate several names with commas). You are just naming the people for now; nobody gets an email or a notification at this point, so you can set the whole group up on your own first.
Pick the default currency the group usually spends in. This is only a default: HippoSplit supports 150+ currencies with live exchange rates, so a Tokyo taxi receipt and a New York dinner can live in the same group and still settle up correctly.
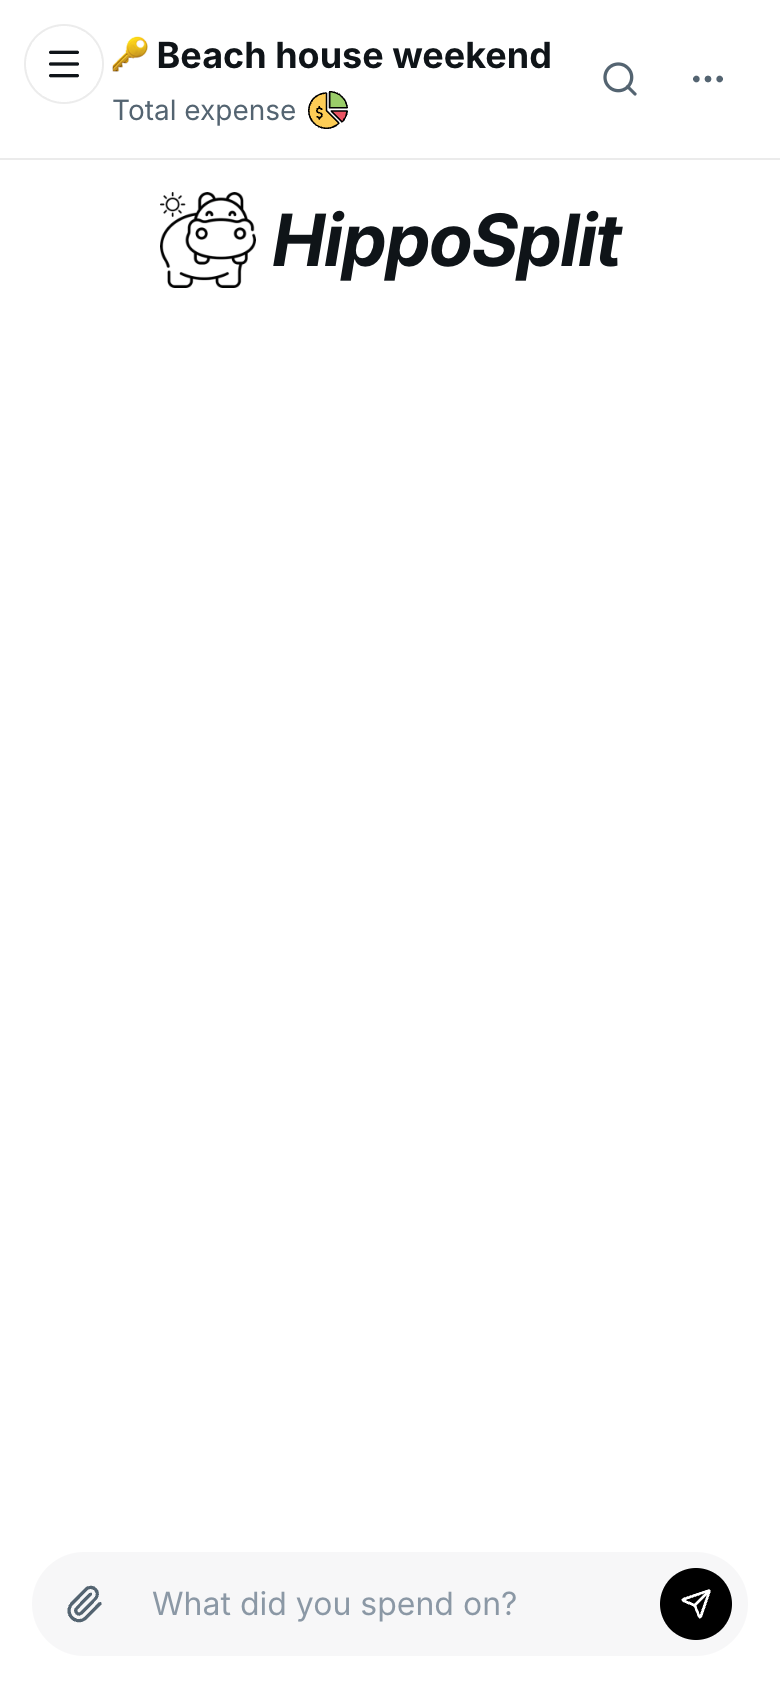
Step 3: create the conversation
Press Create Conversation and you land in a fresh group chat. The running total lives at the top and updates the moment anyone adds an expense. That is the whole setup; the group is ready before your coffee cools.
Step 4: invite friends with a link or QR code
Open the conversation menu (the three dots, top right) and choose Share. You get an invite link to paste into any chat your group already uses, and a QR code for inviting people standing next to you: at the dinner table, in the hostel lobby, at the rental checkout.
Friends who open the link join instantly as guests: no signup, no install, and they see everything, the chat, the expenses, and who owes what. That view-only guest access is perfect for the friend who refuses to install yet another app but still wants to know where the money stands. When someone wants to add expenses or post receipts themselves, they create a free account, which takes a minute.
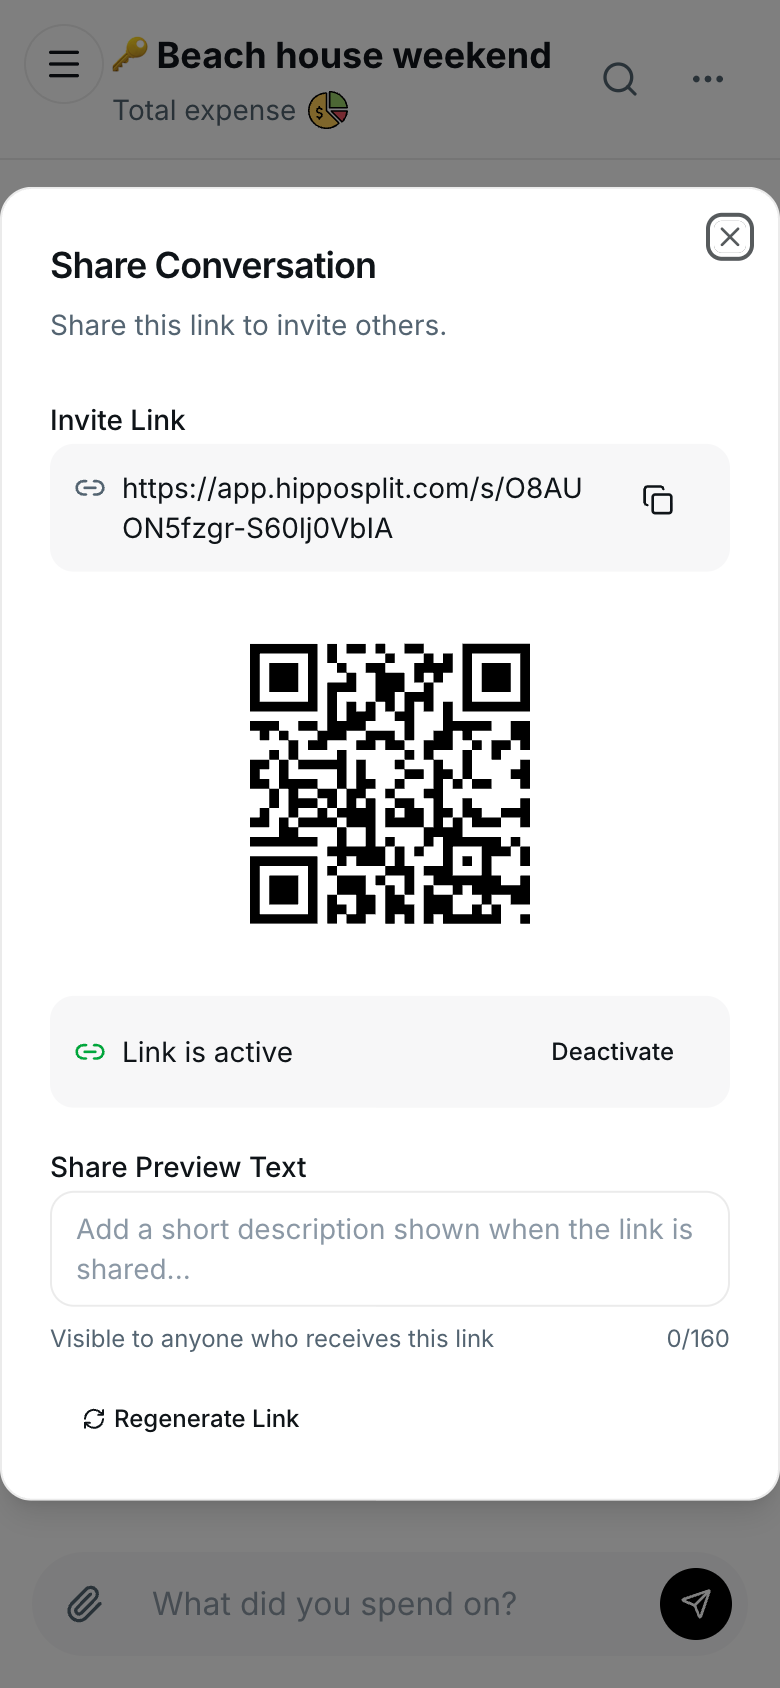
Two small controls worth knowing: you can deactivate the link at any time (handy once everyone has joined), and you can add a short preview text that people see before joining.
Step 5: log the first expense
Type it like a message: "Groceries 84.30 split with Anna and Ben". HippoSplit reads the sentence, logs the expense with the amount and the right people, and updates the total at the top. Or post a photo of the receipt straight into the chat, like sending a picture to friends, and HippoSplit reads it and logs the expense with the items, total, and split filled in. The photo habit is the easiest way to keep track as you spend, and every free account includes 20 AI scans per week.
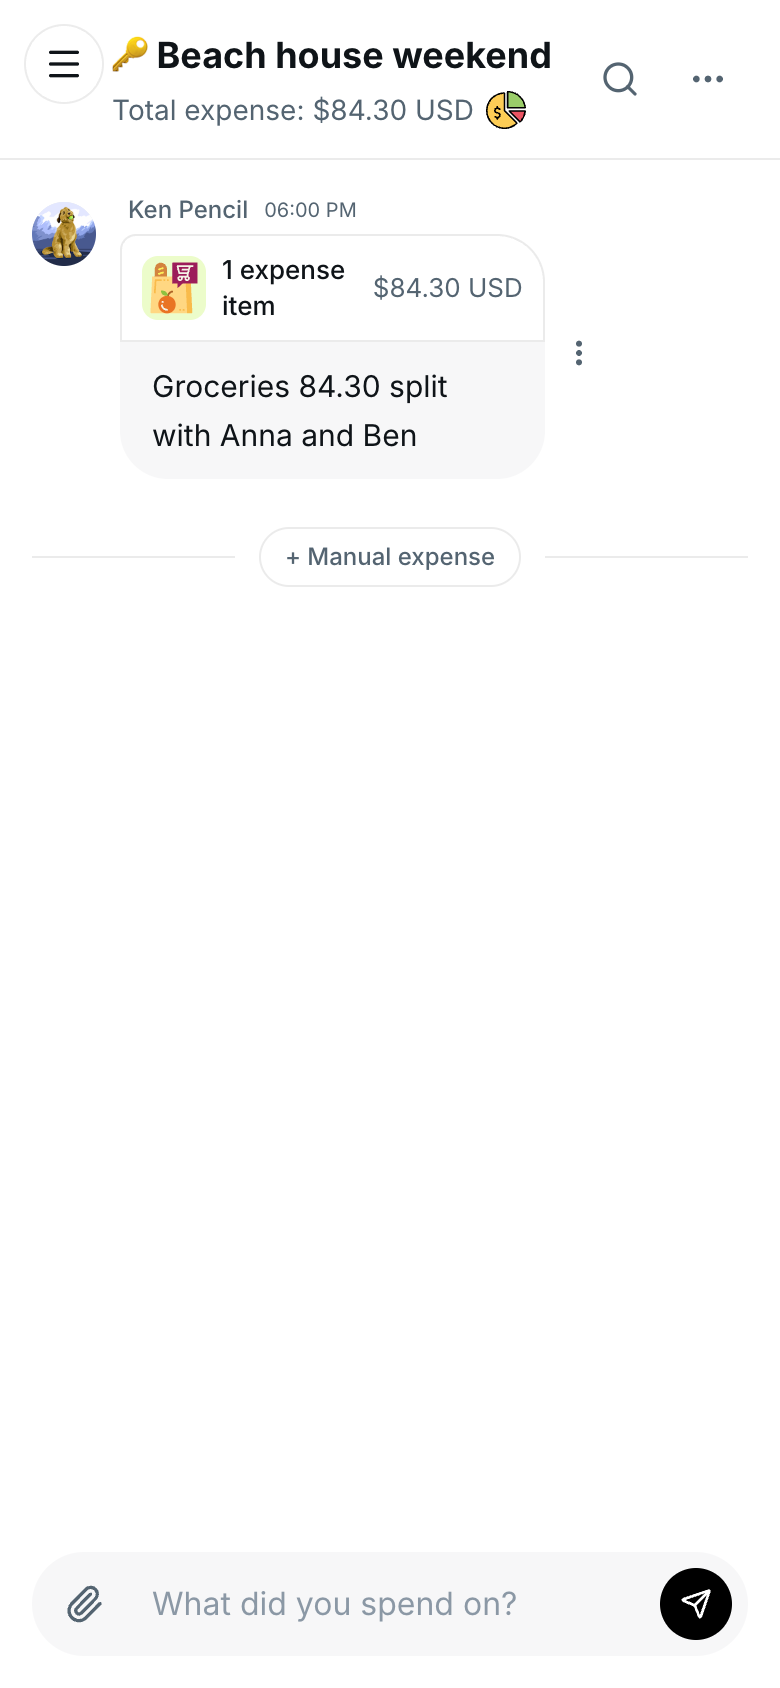
There is also a manual form if you ever want to skip the AI, and everything the AI fills in stays fully editable. For the full receipt workflow, including batch photos and by-item splits, see the receipt scanning tutorial.
What to set up next
A few things worth doing once the group is alive: set the group's default split method in its settings, add recurring expenses like rent or subscriptions so they log themselves, and check the dashboard for the running balances and category breakdown. If you are not sure how your group should split in the first place, our guides to splitting group expenses fairly and splitting expenses with friends cover the methods and when to use each.
Frequently asked questions
Do my friends need to install an app or sign up?
No. HippoSplit runs in the browser, and anyone with the invite link can join as a guest and see the chat, expenses, and balances without an account. Adding or editing expenses requires a free account.
Can I set up the group before inviting anyone?
Yes. Members you add in the dialog are just names at first, so you can create the group, log the first expenses, and share the invite link when you are ready. Nobody is notified before that.
What if my group spends in different currencies?
Pick whichever default currency is most common; every expense can still be logged in its own currency. HippoSplit supports 150+ currencies with live exchange rates and converts automatically when settling up.
Is this free?
Yes. The free plan has unlimited expense entries, no ads, all split methods, and 20 AI scans per week. Premium ($5.99 per month or $49.99 per year) unlocks unlimited AI scanning and advanced reports, and one subscription covers the whole group.
Can I undo the invite link later?
Yes. The Share dialog has a Deactivate switch that turns the link off, and a Regenerate option that replaces it with a fresh one. Anyone already in the group stays in.